Step By Step Process Of Well Installation
The latest reports show that in the US, 15-million homes have their own residential well for their water supply, and that number continues to rise. While the process can seem complex, there are some very specific steps involved in “digging a well” and making it ready for human use. If you ever thought of having your own well, and wondered about what was involved in the process, what follows is a striped down description of the process. If you have any questions or if you would like to learn more, contact us at Clear Water Solutions and speak with any of the crew… After all, we are a 4 generation family of professional well contractor, so we have lots of experience in this space!
To learn some of the process of well installation, read this simple, step by step overview on well installation.
1. Select the best Spot
When a home/land owner is considering a well, we start with an initial consultation. This is to take into account the needs of the well, learning the placement of other things on the property (septic, home, pool and any other considerations.) We will visit your property and find the right spot for drilling the hole to install the well.
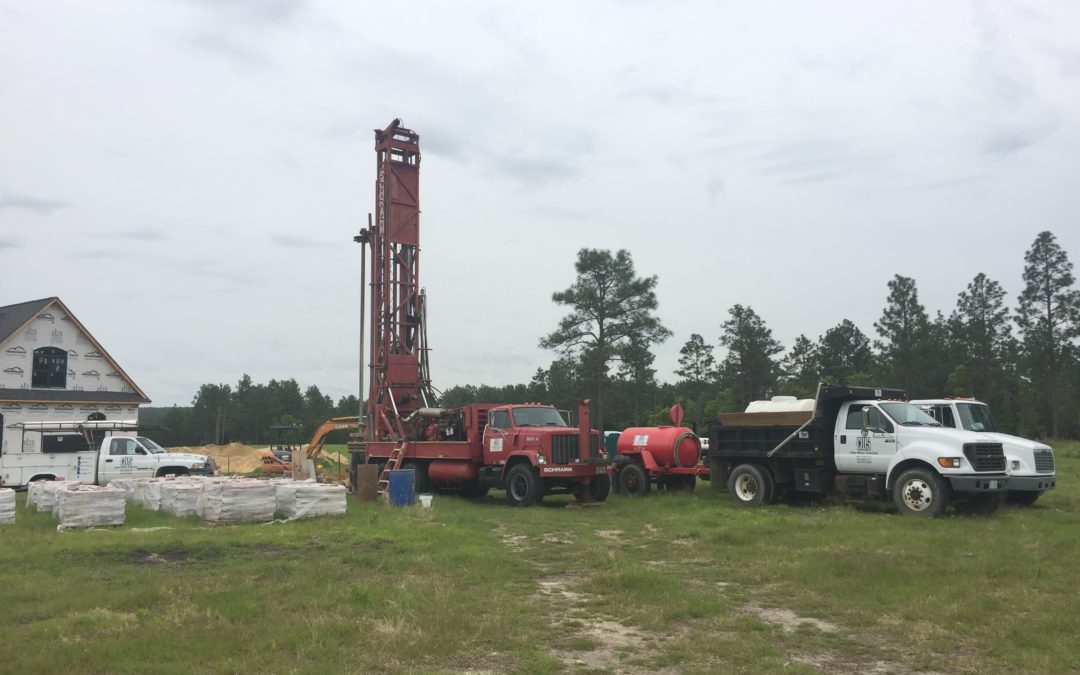
2. Drilling The Well
To begin the process, we drill a hole down into the ground. The hole created, will become the actual well. Drilling contractors can make use of a variety of drilling machines for doing this job. No matter the tool used, the results are pretty much the same. The drill digs down into the earth, breaks thru root, rock, and dirt along the way. All the debris is removed during the dig and is placed in a pile beside the hole while digging.
3. Casing the hole
Once the hole for the well has been drilled, the installation of the well components begins. The well casing is the first component to go in. The casing is a long metal or plastic tube which is inserted into the drilled hole, and it measures 4-6″ in diameter and goes from the aquifer (where the natural water well is that holds the groundwater supply you are tapping in to) back up to the surface. The well casing is sealed with a well cap.
4. Adding Screens
To protect the water in the well from dirt and sediment, wells typically use a well screen. Well screens are fitted at the base of the casing to form an extra layer of filtration.
5. Grouting Around the Casing
After the casing inserted, there’s usually a gap between the casing and the wall of the well hole that’s been drilled. This space can be filled in with a kind of grout.
6. Developing the Well
Developing a well is basically cleaning it up. This is when a well contractors will use air/water to blast out any excess sediment that might have built up in the well or casing.
7. Finishing
Well pump install, pressure tank install, quality checks, etc…To the installation of a water well, the well pump needs to be installed. That is the part that sucks up the water and deliver it to your home, your barns or your needed location. If the water pressure is lower than desired, a pressure tank can be installed. It works by storing water and controls the functioning of the pump. We also do quality checks to ensure the safety of the water well contents before they are drunk.
If you are looking for one of the best in well drilling for the Carolinas, contact Clear Water Solutions!
Well Drilling • Well Repair • Water Filtration
Contact CWS for your water needs – (910) 695-5254
Recent Comments